


A favorite tradition: Cherry Nut Cake
- Catrina White
- Nov 24, 2020
- 8 min read

When I was a little girl, Thanksgiving was one of my favorite times of the year. Actually, it still is! But each year we would make the trek to Virginia, to visit my Grammie and Grampa. Since we lived so far away from them, we usually only visited once a year, but the anticipation was HIGH for my sister and I. We'd get there in the middle of the night, after sitting in the car for 12 - 14 hours of straight driving. Highlights were going through the Lincoln Tunnel, all the toll booths on the New Jersey Turnpike (Remember, I was a kid. This was cool.), and the wind blowing through the car as the driver tried to stay awake! Isn't it funny how the things that are so hard as an adult are seen so differently as a child?

When we'd get there, the first thing I would do was go straight to their pantry! It was always SO FULL of food. Puddings, fruit cups, microwave popcorn, everything a small child could want. It felt so special. And my grandmother would tell my mom that in her house, she ruled. My sister and I could do whatever we wanted. Oh, the joy! haha. And another special thing that happened was that my Grampa would get Dunkin Donuts for us EVERY morning we were there. He'd go get them before we even woke up and then he'd go golfing. But we were always taken care of and thought about first. I was paying attention.
Thanksgiving was always held at their house while my grandmother was alive. When she passed away, it was different. I missed our times together. As the years passed, I started hosting our Thanksgivings. My Grampa and his new wife would come and stay at our house and I'd make all the traditional Thanksgiving foods. He'd go get Dunkin Donuts for my children to enjoy, and every year I'd make a Cherry Nut Cake. He loved them so! We were able to carry on tradition, even though some things had changed. My mom says that this was her mother's legacy. Passed on from generation to generation. I hope to do the same.

There's something about tradition. Growing up, I learned to make this cake because it was such a family favorite. Truth be told, I didn't really like to eat it, but I did love to make it. I remember the first time I was chosen to decorate it. I could place the Walnuts and Cherries however I wanted to! Oh, the delight. Oh, the pressure! Oh, the feeling that I was a part of something special.
So, today I'm going to share with you how to make a special cake that you might want to add to your family traditions. It isn't hard to make, but has that special feel to it. I only make it once a year, but maybe it will become your new favorite! As expected, as time has passed and I've become older, I now appreciate the deliciousness of this cake. Maturity!
WARNING, WARNING, WARNING!
IMPORTANT: If you are lucky enough to have a recipe from several years ago,
and it calls for a cake mix, BEWARE!!!
Did you know that cake mixes used to have more mix in them than they do today? I can remember making a cake and following my recipe, only to have it not turn out right. It seemed extra runny. Or my cakes were smaller in size. So, I began investigating. Traditional box cake mixes had 18.25 oz. of cake mix. Today they only have 15.25 oz. Yep! Less cake mix.
So what to do? Well, sometimes I'll buy two mixes and just measure out 3 oz. of cake mix to add to my other box and follow the recipe as stated. Or sometimes I'll just make two mixes following the new directions, and make cupcakes with my leftover batter. Either way, I end up happier with the result. But not happier with the $ spend. Oh well. In the end, it's worth it to make your food extra special. And if I'm going to use a mix, it needs to work! (Someday I'll share my chocolate cake recipe - from scratch. I'll never use a mix for that again!)
So, let's begin making the cake!

The first thing I like to do is to get my pans ready for baking. When it says grease and flour the pan, DON'T ignore this step! I have decided to not be annoyed by this seemingly messy process, but instead to embrace this part of making a cake as most important. This is true for most things in life! Decide how you are going to tackle the mundane. I say, Choose Joy!
I add a rounded teaspoon of Crisco shortening to each pan. Then I use a paper towel or a silicone pastry brush to spread it around. This time I just used a paper towel. Once the shortening has been spread, I place a couple of tablespoons of flour in each pan. As I gently tap the pan and shake it lightly, the flour begins to coat the bottom of the pan. Then I move to the sink and tip the pan so the the flour falls to the sides. I rotate the pan all around until evey part has been touched by flour. Then I turn it upside down - over the sink! - and tap it gently to remove any excess flour. When I turn my pans over, they should be fully coated. If I missed a spot, I just add a tiny bit more shortening and reflour that part. Be sure to rinse the flour from the sink right way. It can turn into a gluey mess otherwise!


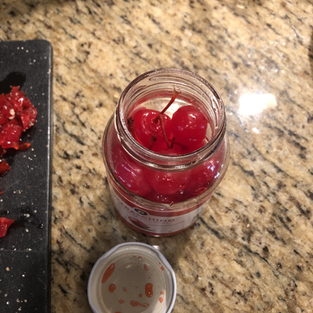
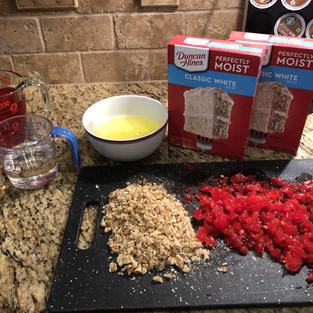
Now that the pans are ready, I move to the cake batter. For this cake, you add walnuts and cherries directly into the batter, so I like to get them ready first. Plus, you'll see that the cherry juice is needed for the cake batter, too!

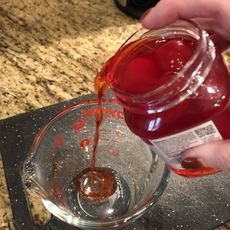

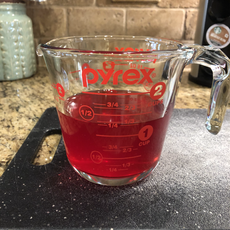


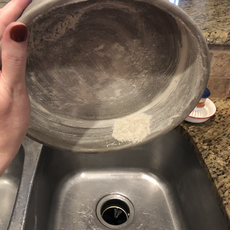
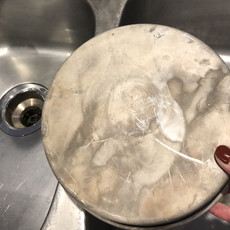
Following the directions for the cake batter for the amount of water to add, I drain the cherries and use the cherry juice for part of that liquid. I add water to get to the correct amount the cake mix calls for. I decided to use two cake mixes for this cake, so had to have a total of two cups of liquid, plus oil. I measured the cherry juice and added water to get to the amount needed. No matter what mix you use, you can do this to enhance flavors!
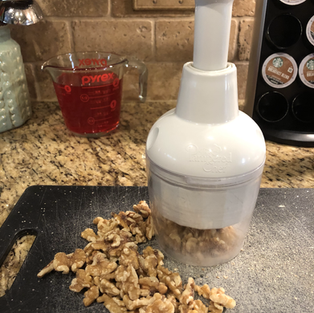
Once the juice was drained, I began chopping my walnuts. I have a handy chopper from Pampered Chef, so I used that, but you could also just use a knife to chop them. Sometimes when I don't want the extra dishes, I just do that. Just take your knife and hold the tip down and rock back and forth over the nuts, letting the blade do the work.

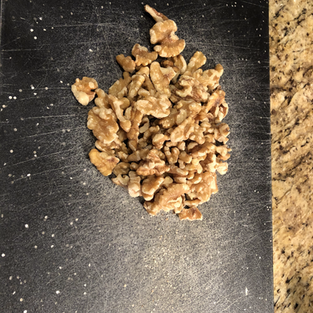


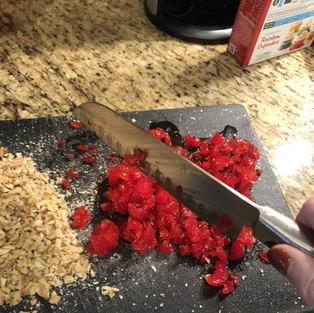

Remember to save a few for decorations! Once my nuts were chopped, I chopped my cherries the same way. I preheated my oven to 350 degrees - as the box suggested.
Now that my add ins were ready, I moved to the eggs. The cake mix called for egg whites as it was supposed to be a white cake! But of course my cake was going to be pink, so the egg yolks didn't matter for color's sake. However, I know that the fat content would be different, so I decided to follow their directions. For those who know me, you can imagine that I struggled with that! I'm a rule follower and NOT a rule follower at the same time. hahaha


I cracked the egg and used the shell to separate the yolks from the whites. I prefer just using my hand (clean, of course!), so I began placing the egg in my hand and letting the whites fall through my fingers gently. This is the easiest way for me!
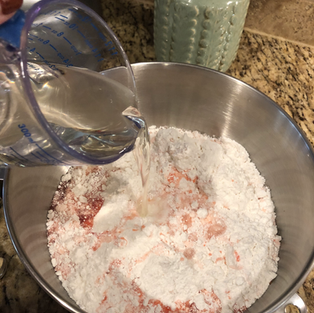
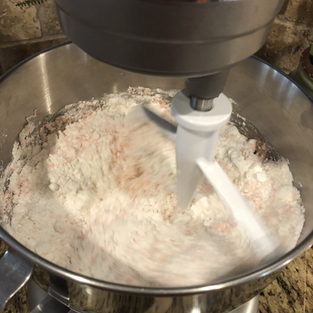
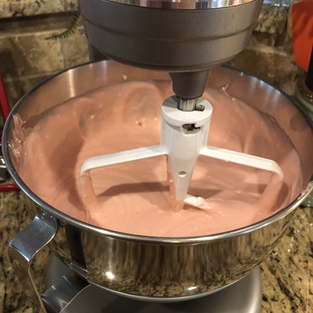
Now that I had my cherry liquid and egg whites ready, I was ready to begin! I placed the cake mixes into the bowl, poured in the liquids and eggs, and mixed for 30 seconds in my Kitchen Aid Mixer. Then I scraped the bowl and mixed for two more minutes on a slightly higher speed.


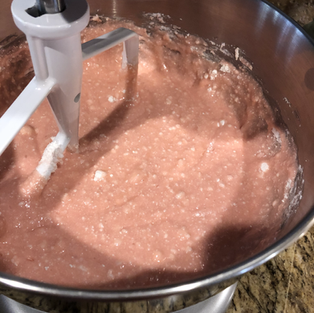

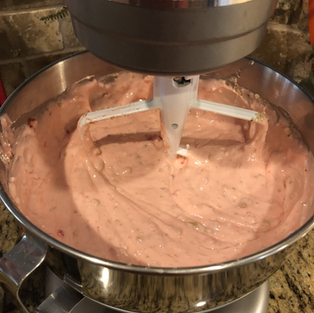
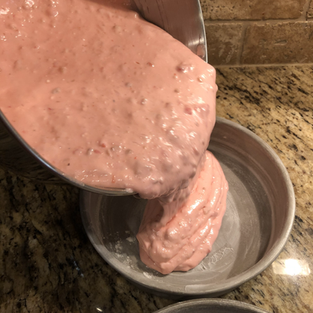
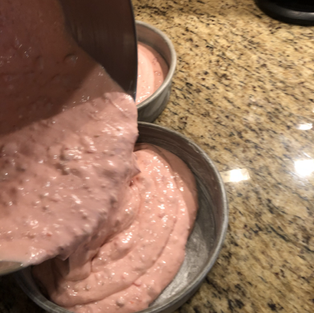
Once the batter was mixed, I added in my chopped nuts and chopped cherries. I mixed the batter all together and was ready to pour into my greased and floured pans. I poured in the batter until they were about half way up the pan - if I hadn't used two mixes, I would not have had as much batter to use.


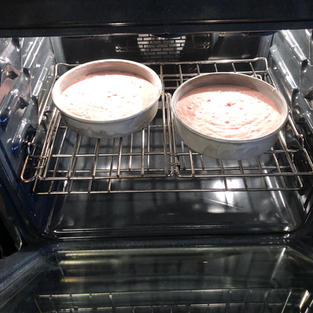
I placed them in the oven to bake for the recommended time.
With the leftover batter, I decided to bake cupcakes! I got out a pan and added six baking cups to it and added batter using an ice cream scoop. My scoop filled it all the way to the top! Too much! No worries, I just removed some using a spoon.

Remember - don't take yourself too seriously when you are cooking!
ANYTHING can be adjusted. Well, most anything!
Once I filled my cups, I realized I still had more batter left over! So I ended up making 12 cherry nut cupcakes. And guess what? I frosted them with chocolate icing. DELICIOUS!
Back to the actual cake: When the timer beeped, I went to check the cakes. I got out a toothpick as I like to check to see if they are done by inserting a toothpick in the center of the cake. Then I pull it out and check to see if any batter remains on it. Well.....I opened the oven and went to pull out the rack - they were jiggly!!!!
Gently closing the oven, I added more baking time! Sometimes adding more ingredients like the nuts and cherries can throw off bake times. And remember, I used more batter than would normally be used, so it's not surprising they needed more time. I added 5 minutes - checked - and added 3 more minutes!

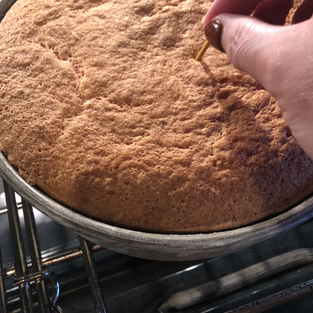


Look at the sides of the cakes as I get them from the oven - do you see how they have pulled away from the pan? That is another good way to know they are ready. And they were!


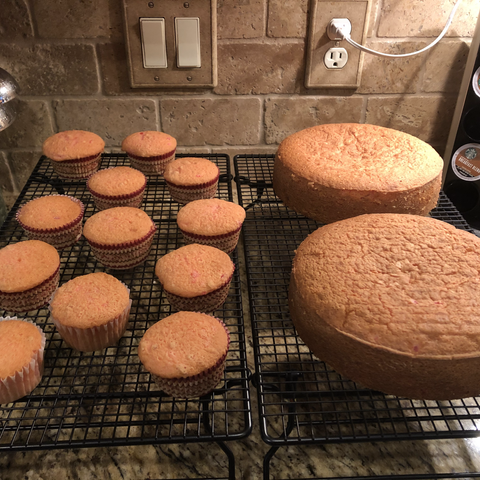
I let them cool for 10 minutes before turning them out to cool completely on a rack. Once they were cooled, I began to frost and decorate. This time I decided to use canned frosting, but I can make my own, too. Maybe one blog post I'll devote to making frostings! Cream cheese, chocolate fudge, chocolate peanut butter, buttercream...oh, my mouth is watering!
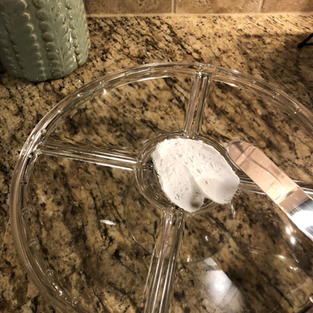
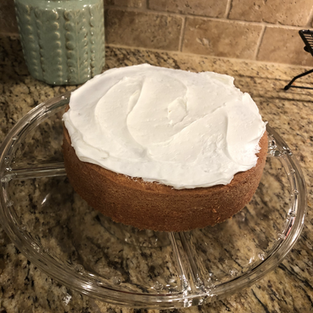
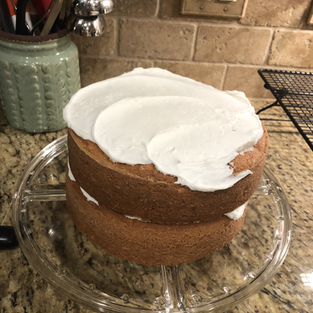
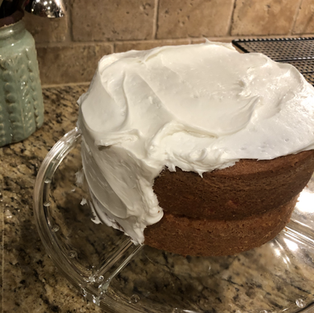
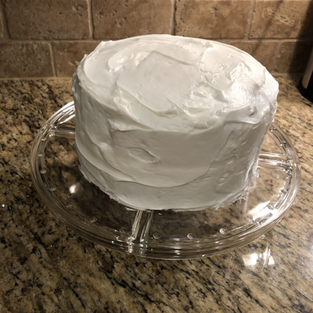
To keep my cakes from moving around while I frost them, I put a little icing on the plate the cakes will sit on. This anchors them down for me. I add frosting to the middle layer of my cake and then add the top layer. I frosted the top and then the sides of the cake. I used two cans of pre-made white frosting.


Now for the fun part! How to decorate? I decided to use cherries with the stems, walnut halves, and cherries cut in half. I never decorate it the same! Just have fun with this part if you try it. And remember, there is no right or wrong way to do it. Whatever seems fun is just perfect.

This cake is perfect for Thanksgiving and Christmas, too! I hope you'll try it, and that you will think about the traditions you have and share them with someone!
Cherry Nut Cake
White Cake Mix
Vegetable oil
Eggs
Maraschino Cherries (with their liquid)
Walnuts
Prepare your cake pans by greasing and flouring them. Preheat your oven to 350 degrees.
Using the cake directions for amounts, measure the oil, eggs, and the water by draining the cherry liquid into a measuring cup. Add the amount of water needed to fulfill the cake mix requirements for liquid.
Chop the walnuts and cherries - saving some of both for decoration. I used about 2/3 cup of chopped walnuts and 2/3 cup chopped cherries, but these amounts can be adjusted to your taste.
Mix the ingredients for the cake together on low speed for 30 seconds or so. Then scrape the sides and mix on medium speed for two more minutes. Add in the chopped nuts and cherries.
Pour the batter evenly into the pans and bake for the recommended time. Check for doneness - using a toothpick to see if batter remains once inserted into the center of the cake. Also check to see that the cake is slightly pulling away from the pan. Once done, place on a cooling rack for 10 minutes.
After 10 minutes, remove from pans and let sit until completely cool. Frost and decorate as desired.
Enjoy!


Comments